Durable Insulated Siding Options: A Guide
Durable insulated siding options are key to boosting your home’s curb appeal and energy efficiency. Choosing the right siding isn’t just about aesthetics; it’s a significant investment impacting your home’s value, comfort, and long-term maintenance. This guide dives into the various types, installation processes, cost considerations, and environmental impact of durable insulated siding, equipping you with the knowledge to make an informed decision.
We’ll explore popular materials like fiber cement, vinyl, engineered wood, and metal, comparing their durability, insulation properties, and maintenance needs. We’ll also cover crucial installation techniques, cost breakdowns, and energy-saving potential, helping you navigate the complexities of choosing and installing durable insulated siding for your home.
Types of Durable Insulated Siding
Choosing the right insulated siding can significantly impact your home’s energy efficiency, curb appeal, and long-term maintenance costs. Several durable options exist, each with its own set of advantages and disadvantages. Understanding these differences is crucial for making an informed decision.
Durable Insulated Siding Materials
Several materials are commonly used for durable insulated siding. Each offers a unique blend of durability, insulation properties, and maintenance needs. Consider these factors carefully when selecting the best option for your home.
| Material | Durability | Insulation R-Value | Maintenance |
|---|---|---|---|
| Fiber Cement | High; resists fire, insects, and moisture. Can withstand extreme weather conditions. | Varies depending on thickness and manufacturer; generally moderate to high. | Low; occasional cleaning and repainting may be needed. |
| Vinyl | Moderate; susceptible to impact damage and fading in intense sunlight. | Moderate; R-values vary widely by product thickness and design. | Low; typically requires only occasional cleaning. |
| Engineered Wood | Moderate to High; depending on the specific product and treatment, it can resist moisture and insects but may be more susceptible to impact damage than fiber cement. | Moderate; R-values vary depending on the specific product and composition. | Moderate; may require periodic staining or sealing to protect against moisture. |
| Metal (Aluminum or Steel) | High; extremely durable and resistant to fire, insects, and moisture. Can dent, though. | Moderate to High; R-values vary based on the thickness and insulation backing. | Low; generally requires minimal maintenance, but occasional cleaning may be necessary. |
Lifespan and Warranty Expectations
The lifespan and warranty of insulated siding varies greatly depending on the material, installation quality, and environmental factors. However, general expectations can be outlined. It’s always crucial to check the manufacturer’s specific warranty information for the product you choose.
Fiber cement siding typically boasts a lifespan of 50 years or more, often backed by warranties of 30-50 years. Vinyl siding usually lasts 20-40 years, with warranties ranging from 10-25 years. Engineered wood siding has a lifespan that typically ranges from 20-30 years, with warranties mirroring the vinyl range. Metal siding, with its superior durability, often lasts 50 years or more, with warranties that frequently reflect this longevity.
Installation Methods and Considerations
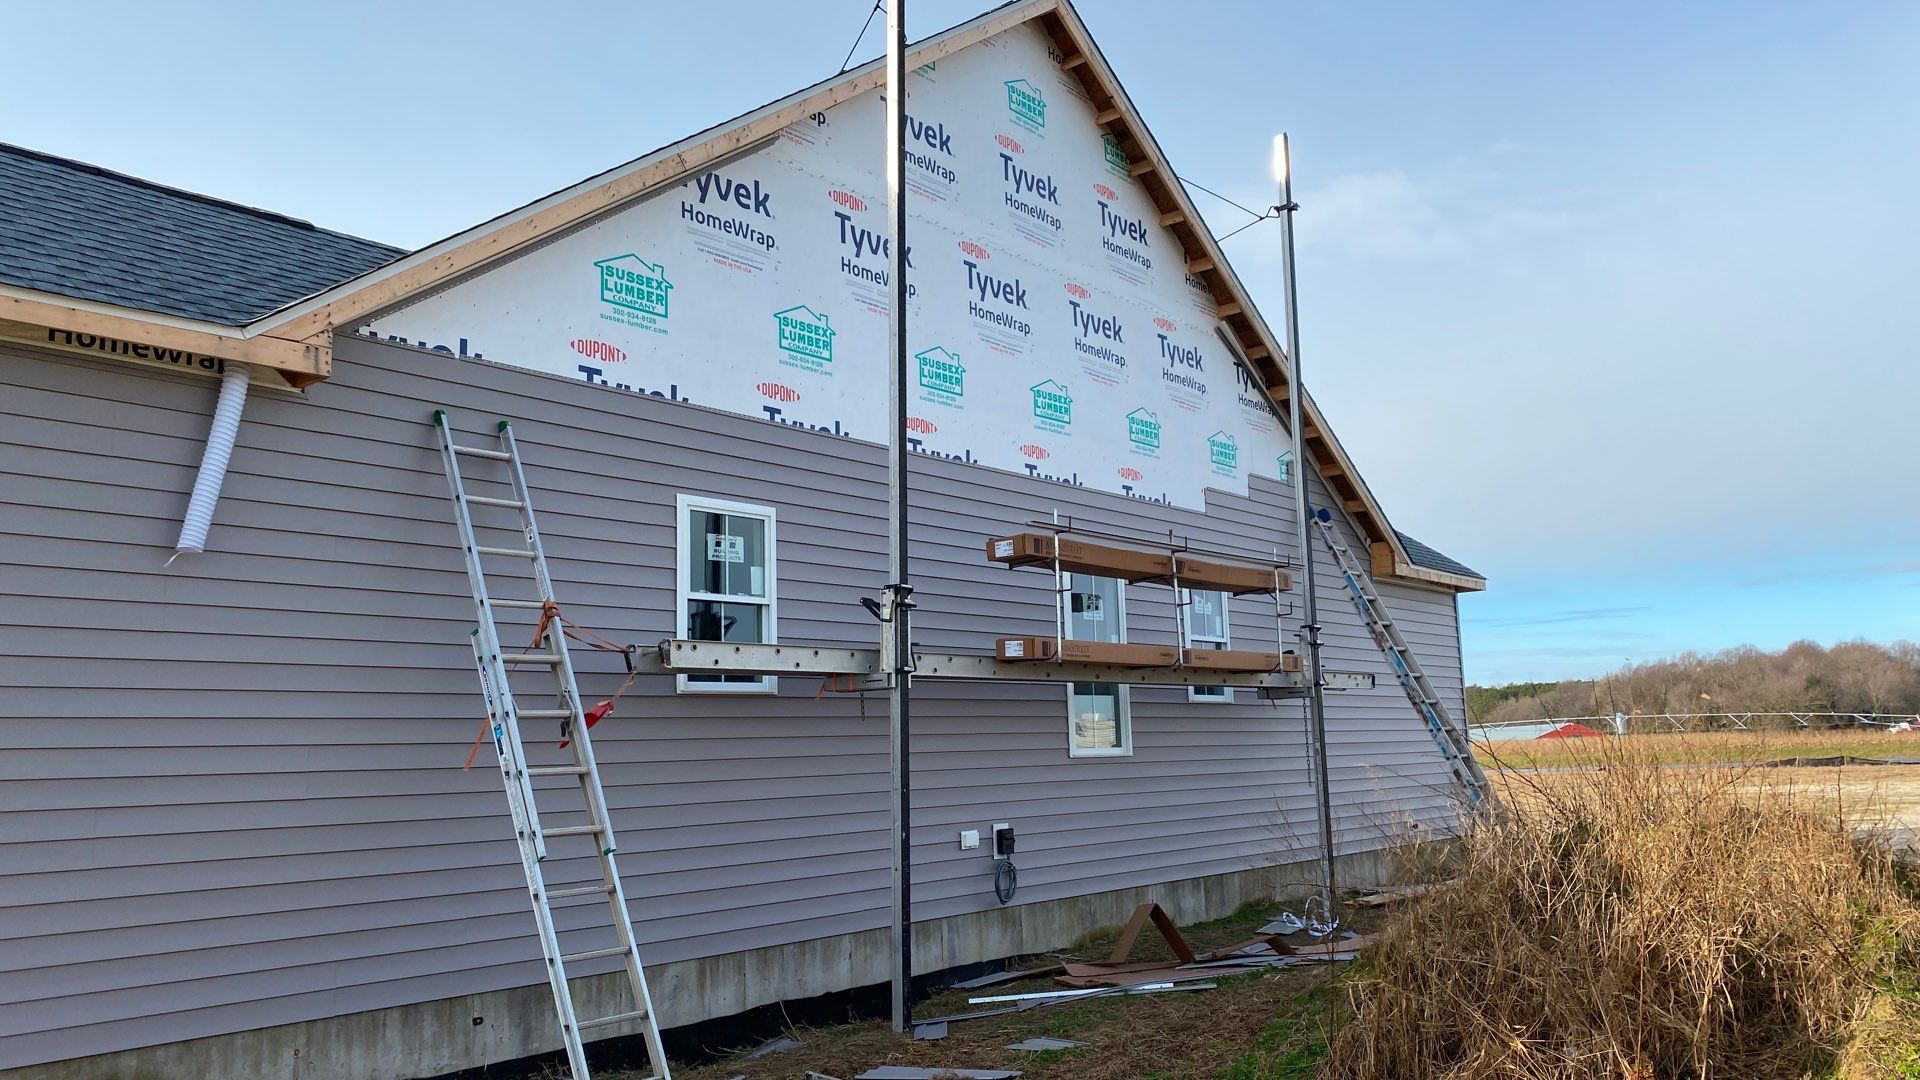
Proper installation is crucial for the longevity and effectiveness of insulated siding. A poorly installed system, regardless of the siding material’s quality, will likely lead to problems like water damage, energy inefficiency, and premature deterioration. This section details installation methods for two common types of durable insulated siding: vinyl and fiber cement. We’ll also cover crucial preparatory steps and address common installation challenges.
Wall Surface Preparation
Before any siding installation begins, thorough preparation of the wall surface is paramount. This involves removing any loose or damaged materials, such as old siding, trim, or flashing. Any existing wood should be inspected for rot or insect damage; affected areas must be repaired or replaced. The surface should then be cleaned to remove dirt, debris, and loose paint. Finally, a thorough inspection for unevenness is necessary; significant irregularities should be addressed by applying sheathing or other leveling techniques to ensure a flat and even surface for the new siding. This even surface is vital for proper alignment and prevents gaps that can compromise weather resistance.
Vinyl Insulated Siding Installation
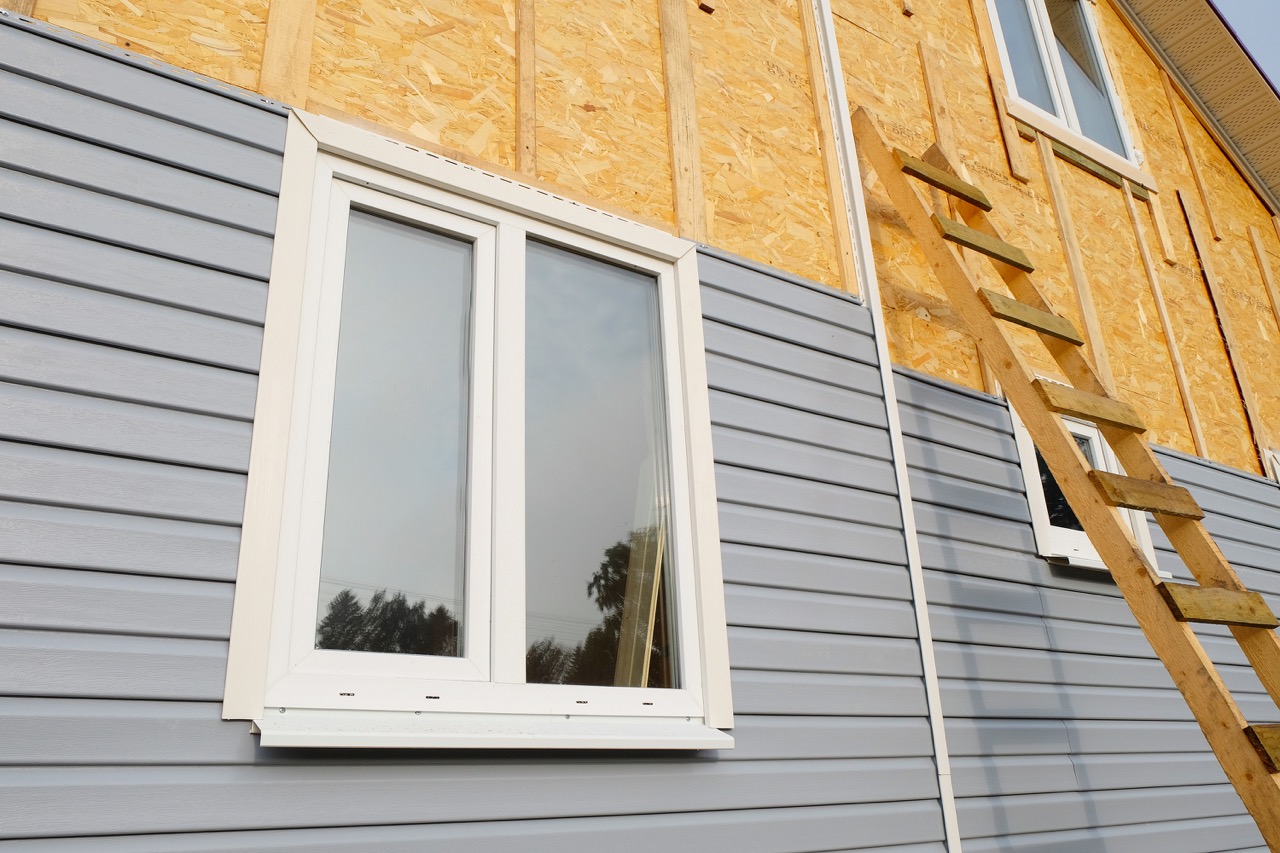
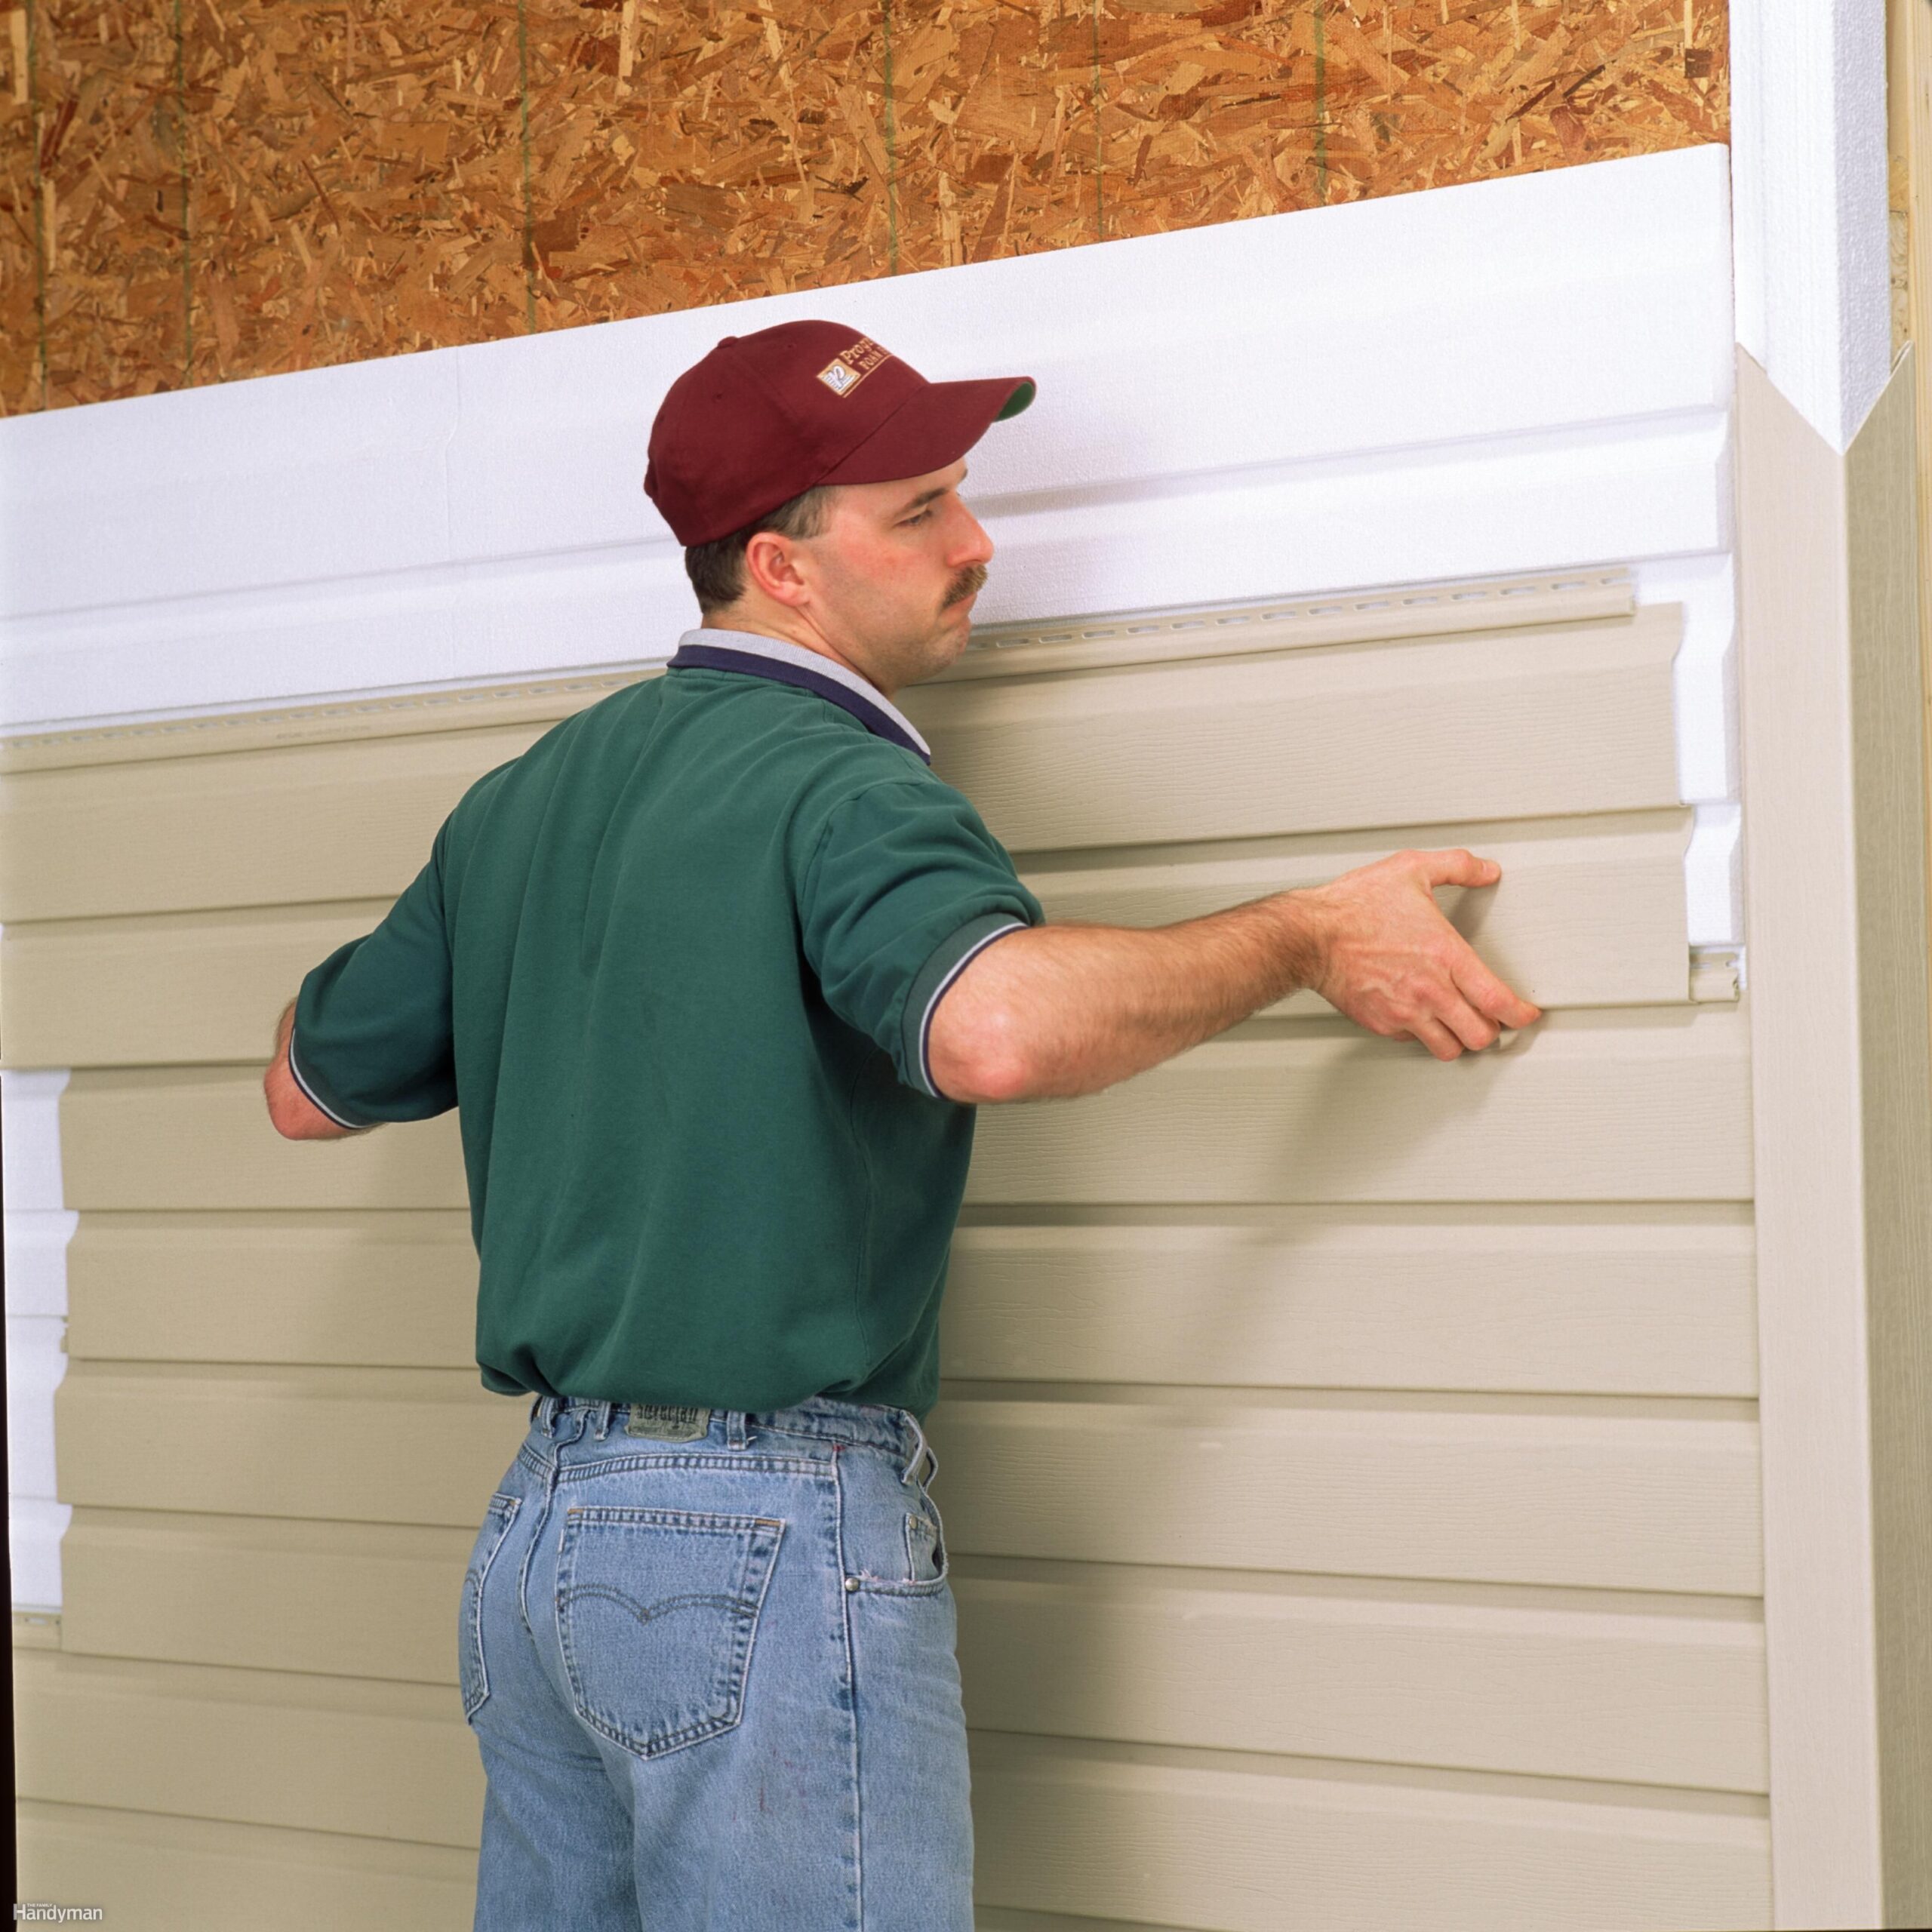
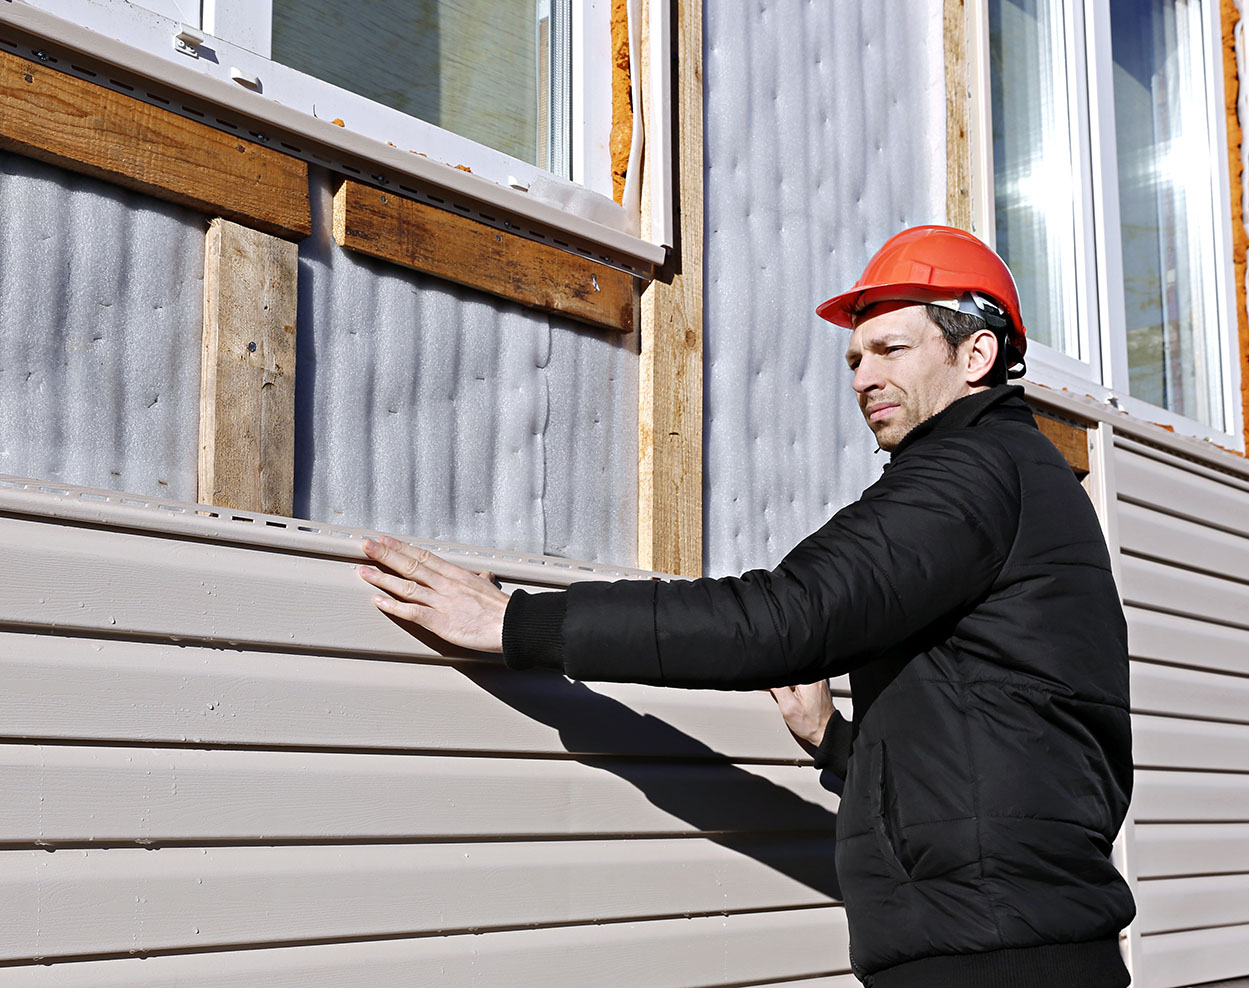
Vinyl insulated siding typically comes in panels that interlock. Installation usually starts at a corner, with the first panel carefully aligned and secured using starter strips and nails or screws. Subsequent panels are then interlocked and fastened, ensuring proper overlap and alignment. J-channels are used to finish corners and around windows and doors. Expansion and contraction of the vinyl must be accounted for; using appropriate spacing and fasteners is crucial to avoid warping or damage. Proper flashing and sealing around windows and doors is also vital to prevent water intrusion.
Fiber Cement Insulated Siding Installation
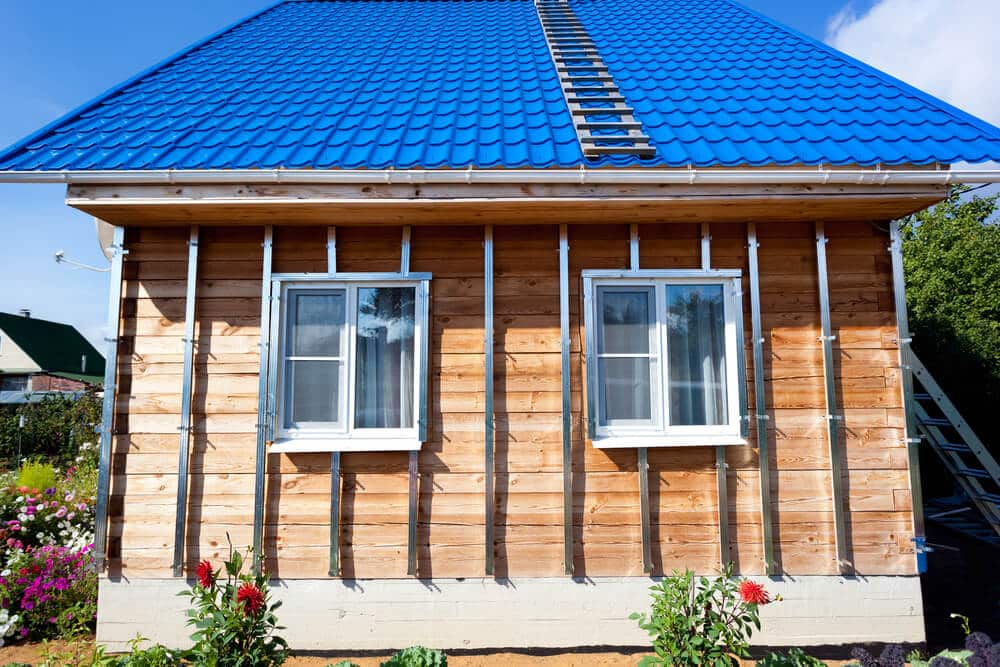
Fiber cement siding installation is generally more involved than vinyl. The panels are heavier and may require more precise cutting and fitting. Like vinyl, installation typically starts at a corner, with panels fastened securely using nails or screws. However, fiber cement panels often require additional support, such as furring strips, for larger areas or areas with uneven surfaces. Because fiber cement is more susceptible to moisture damage, meticulous attention to flashing and sealing is critical. Proper caulking around all seams and penetrations is essential to prevent water leakage. Also, fiber cement panels are more prone to cracking if improperly installed or subjected to extreme stress.
Flashing and Sealing Techniques
Proper flashing and sealing are essential to prevent water damage. This graphic illustrates best practices:
“`
+—————–+
| Roof Edge |
+——–+——–+
|
| Flashing (overlapping)
V
+—————–+ +—————–+ +—————–+
| Wall |—->| Siding Panel |—->| Wall |
+——–+——–+ +——–+——–+ +——–+——–+
^ | |
| Sealant | | Sealant
| V |
+—————–+ +—————–+ +—————–+
| Window/Door |—->| Flashing |—->| Window/Door |
+—————–+ +—————–+ +—————–+
“`
This diagram shows overlapping flashing installed under the siding, extending up under the roofline. Sealant is applied at all seams and where the siding meets windows and doors. This creates a continuous barrier against water intrusion.
Potential Installation Challenges and Solutions
Uneven wall surfaces can cause difficulties in aligning siding panels. Pre-installation leveling with sheathing or furring strips is the solution. Difficult cuts around corners or windows can be mitigated by using specialized cutting tools and templates. Working in extreme temperatures can affect the siding material; installing during moderate temperatures is best. Finally, improper fastening can lead to loose panels or damage; using appropriate fasteners and following manufacturer instructions carefully will avoid this.
Cost and Budget Considerations
Choosing durable insulated siding is a significant investment, impacting both your home’s aesthetics and energy efficiency for years to come. Understanding the associated costs is crucial for effective budgeting and avoiding unpleasant financial surprises during the project. This section will break down the typical expenses involved in purchasing and installing different types of durable insulated siding.
The total cost of a siding project is a complex calculation, influenced by several interconnected factors. While it’s impossible to provide a universally accurate price, understanding these factors will help you create a realistic budget.
Cost Breakdown of Durable Insulated Siding
Several factors significantly influence the overall cost of your project. This includes material costs, labor expenses, and the project’s overall scope. These elements interact to determine the final price, highlighting the importance of careful planning and accurate estimation.
- Material Costs: The type of siding you choose heavily impacts the upfront material costs. For example, fiber cement siding generally costs more per square foot than vinyl siding, but offers superior durability and longevity. High-end materials like engineered wood or metal siding will command even higher prices. Expect to pay anywhere from $3 to $20+ per square foot for materials alone, depending on the chosen material and its quality.
- Labor Costs: Labor costs are a significant portion of the total project expense. The complexity of the installation, the size of your home, and the local labor market all play a role. Labor costs can range from $2 to $8 or more per square foot, and are often influenced by factors like the need for specialized skills or equipment for complex installations.
- Project Size and Complexity: A larger home will naturally require more materials and labor, leading to higher overall costs. Complex projects, such as those involving significant repairs or intricate detailing, also increase labor costs. For example, a two-story home with many architectural details will be more expensive to side than a single-story ranch-style home.
- Regional Variations: Prices for materials and labor vary considerably depending on your geographic location. Areas with high demand for skilled labor or limited access to specific siding materials may see higher costs. For instance, coastal areas might experience higher prices for certain types of siding due to transportation and demand.
- Permits and Inspections: Remember to factor in the costs associated with obtaining necessary permits and scheduling inspections. These fees vary by location and can add a few hundred dollars to the overall budget.
Example Cost Estimates
To illustrate the cost range, let’s consider a hypothetical 1,500 square foot home. Using the ranges above, we can estimate the potential cost for different siding options:
- Vinyl Siding: Materials ($3-$5/sq ft) + Labor ($2-$4/sq ft) = $7,500 – $13,500 total.
- Fiber Cement Siding: Materials ($8-$15/sq ft) + Labor ($4-$8/sq ft) = $18,000 – $39,000 total.
- Engineered Wood Siding: Materials ($12-$20+/sq ft) + Labor ($6-$10+/sq ft) = $27,000 – $45,000+ total.
Note: These are estimates, and the actual cost can vary significantly based on the factors mentioned above. Always obtain multiple quotes from reputable contractors before making a decision.
Energy Efficiency and Environmental Impact
Choosing insulated siding significantly impacts both your energy bills and the environment. The insulation properties of the siding material directly affect how much energy is needed to heat and cool your home, while the manufacturing, installation, and disposal processes contribute to the overall environmental footprint. Understanding these factors is crucial for making an informed decision.
The insulation value of siding is measured using the R-value, which represents the material’s resistance to heat flow. Higher R-values indicate better insulation. Different siding materials offer varying R-values, leading to different levels of energy savings. For example, fiber cement siding often has a lower R-value than insulated vinyl or foam-backed siding. This difference translates directly into reduced energy consumption and lower utility bills. Furthermore, the embodied energy—the energy used to manufacture and transport the material—also plays a role in the overall environmental impact.
Insulation R-Values and Energy Savings
The energy savings achieved through insulated siding depend on several factors, including the R-value of the siding, the climate zone, and the home’s existing insulation levels. A higher R-value translates to less heat transfer through the walls, leading to reduced heating and cooling loads. Consider a home in a cold climate zone (like zone 6) with an existing wall R-value of R-13. Upgrading to insulated vinyl siding with an R-value of R-5 would increase the total wall R-value to R-18, significantly reducing heating costs. Conversely, in a hot climate zone, the same upgrade would reduce cooling costs.
To estimate potential energy savings, you can use the following simplified calculation: Energy Savings ≈ (ΔR-value / Total R-value) * Annual Energy Consumption.
For instance, if the annual energy consumption is 10,000 kWh and the increase in R-value (ΔR-value) is 5, while the total R-value after the upgrade is 18, the estimated energy savings would be approximately (5/18) * 10,000 kWh = 2778 kWh per year. This translates to a significant reduction in energy costs and greenhouse gas emissions. This calculation is simplified and doesn’t account for factors like window efficiency or air leakage, but it provides a reasonable estimate. A more precise calculation would require specialized software and detailed building information.
Environmental Impact of Siding Materials
The environmental impact of siding materials varies across their lifecycle. Manufacturing processes for different materials require different amounts of energy and resources. For example, vinyl siding’s production involves the use of petroleum-based products, contributing to greenhouse gas emissions. Fiber cement siding, on the other hand, uses natural materials like cement and wood fibers, but its manufacturing still consumes significant energy. Metal sidings, often made from recycled aluminum or steel, generally have a lower environmental impact compared to vinyl, but their production still involves energy consumption.
The installation process also contributes to the environmental footprint. Transportation of materials and waste generation during installation need to be considered. Finally, the disposal or recycling of siding materials at the end of their life cycle has a significant impact. Vinyl siding is notoriously difficult to recycle, while some other materials like aluminum siding have higher recycling rates. Choosing siding with a higher recycled content and better end-of-life management options can reduce its overall environmental impact.
Maintenance and Repair
Proper maintenance is key to extending the lifespan of your insulated siding and preventing costly repairs down the line. Different siding materials require varying levels of care, and understanding these nuances will help you keep your home looking its best for years to come. Regular cleaning and prompt attention to any damage are crucial for preserving both the aesthetic appeal and the energy efficiency of your investment.
Maintenance Schedules for Different Insulated Siding Options
The frequency of maintenance depends heavily on the siding material and your local climate. For example, areas with heavy snowfall or frequent rain will require more frequent cleaning than drier climates. A general guideline is to inspect your siding at least twice a year, in spring and fall, looking for any signs of damage or deterioration.
- Vinyl Siding: Generally requires minimal maintenance. Regular washing with a mild detergent and water, using a soft brush or sponge, is usually sufficient. Inspect for cracks or loose panels annually.
- Fiber Cement Siding: More durable than vinyl, but still benefits from periodic cleaning. Power washing is acceptable, but avoid using excessive pressure to prevent damage. Inspect for cracks or loose panels annually.
- Metal Siding (Aluminum or Steel): Relatively low-maintenance. Regular cleaning with soap and water is usually sufficient. Inspect for rust or dents, paying close attention to areas prone to scratching.
- Polyurethane Foam Siding: This type of siding is typically very low-maintenance. Cleaning is usually straightforward, but always refer to the manufacturer’s recommendations for cleaning solutions and methods.
Repairing Common Damage to Insulated Siding
Addressing damage promptly is vital to prevent further deterioration and maintain the integrity of your siding.
- Dents: Minor dents in metal siding may be able to be gently pushed back into place. Larger dents or those in other siding types may require professional repair or panel replacement.
- Cracks: Small cracks in vinyl or fiber cement siding can sometimes be repaired with a suitable sealant. Larger cracks or those in other materials will likely necessitate panel replacement. For instance, a significant crack in a fiber cement panel would require cutting out the damaged section and replacing it with a matching piece. This usually involves careful measurements and fitting to ensure a seamless finish.
- Discoloration: Regular cleaning is the best defense against discoloration. For stubborn stains, specialized cleaning products may be necessary. However, always test any cleaning product on an inconspicuous area first to ensure it doesn’t damage the siding.
Cleaning and Protecting Insulated Siding
Regular cleaning is crucial for preserving the appearance and extending the life of your siding. Avoid using abrasive cleaners or high-pressure power washers, as these can damage the surface.
- Use a soft-bristled brush or sponge and a mild detergent solution.
- Rinse thoroughly with water.
- For stubborn stains, consider using a specialized siding cleaner. Always follow the manufacturer’s instructions carefully.
- Regularly inspect for and address any loose or damaged caulk around windows and doors. This helps prevent water damage and keeps pests out.
Aesthetic Considerations and Design Choices
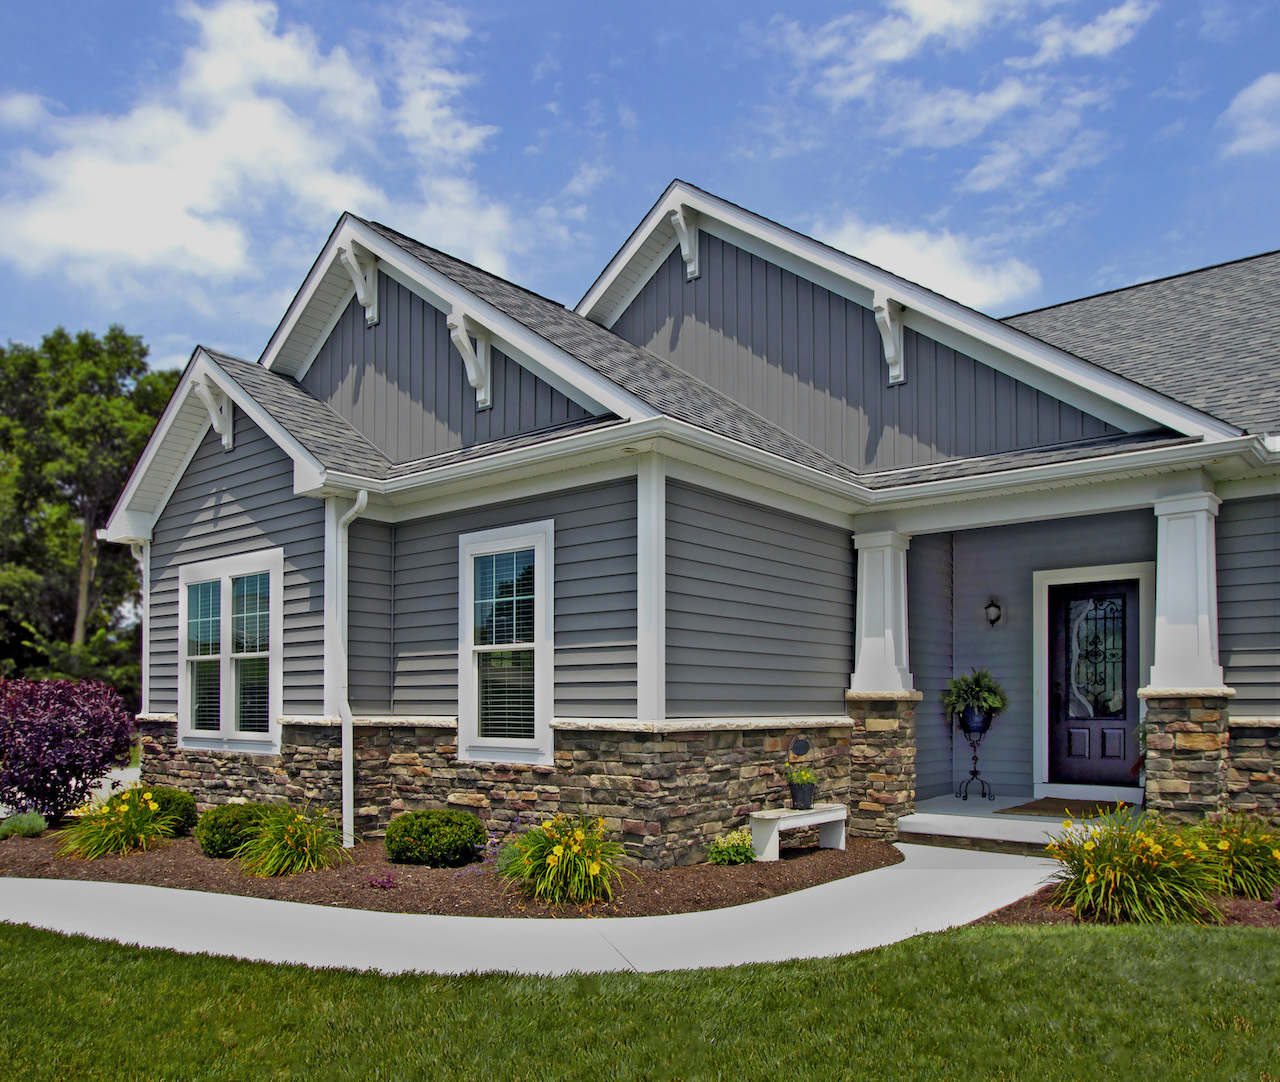
Choosing the right insulated siding isn’t just about practicality; it’s a crucial design decision that significantly impacts your home’s curb appeal and overall aesthetic. The variety of colors, textures, and styles available allows for a personalized touch, transforming your house into a home that reflects your unique taste and complements its architectural style. This section explores the aesthetic possibilities and the impact of siding choices on property value.
The selection of durable insulated siding offers a wide spectrum of design choices that can dramatically alter a home’s appearance. Beyond the functional benefits, the aesthetic appeal is paramount, contributing significantly to the overall value and desirability of the property.
Color Options and Their Impact
Durable insulated siding comes in a vast array of colors, from classic neutrals to bold, vibrant hues. The color you choose can dramatically alter the feel and perception of your home. Lighter colors, such as whites and creams, can make a home appear larger and brighter, while darker colors can create a more dramatic and sophisticated look. Consider the surrounding environment and your personal preferences when selecting a color. For example, a light grey siding might complement a modern home nestled amongst trees, while a deep navy might suit a traditional home in a coastal setting. The interplay between color and light is a crucial aspect to consider, as the sun’s angle and intensity throughout the day can significantly affect how the color appears.
Texture and Style Variety
Beyond color, the texture and style of the siding significantly contribute to the overall aesthetic. Options range from smooth, sleek surfaces that lend a modern feel to more textured surfaces that evoke a rustic or traditional charm. For instance, a smooth, fiber cement board siding might be ideal for a minimalist modern home, while a clapboard style in cedar-tone might be perfect for a classic New England style home. The visual weight and dimension that different textures add are crucial to consider; a heavily textured siding can make a smaller home appear more substantial, while a smoother siding can accentuate the clean lines of a contemporary design.
Siding Choices and Architectural Styles
The right siding choice can perfectly complement various architectural styles, enhancing their inherent characteristics.
- Modern Homes: Clean lines and sleek surfaces are hallmarks of modern architecture. Smooth, fiber cement siding in neutral colors like gray or white would complement this style perfectly. Alternatively, a large-format panel siding could also provide a modern and sophisticated look.
- Traditional Homes: Traditional homes often benefit from siding that evokes a sense of history and craftsmanship. Vinyl siding that mimics the look of wood clapboard, or even real wood siding (with appropriate maintenance considerations), would be suitable choices. Earth tones and muted colors generally work well.
- Rustic Homes: Rustic homes often feature natural materials and textures. Stone or wood-look siding, perhaps with a rougher texture, can enhance this aesthetic. Warm, earthy tones like browns and greens would be appropriate.
Curb Appeal and Property Value
The impact of siding on curb appeal and property value cannot be overstated. Attractive, well-maintained siding instantly enhances a home’s visual appeal, making it more inviting and desirable. This increased curb appeal can translate directly into a higher property value, especially when considering resale. A well-chosen siding that complements the architectural style and surrounding environment will not only improve the aesthetics but also potentially increase the market value of your property significantly. Conversely, outdated or damaged siding can negatively affect curb appeal and reduce a home’s value. Investing in durable, aesthetically pleasing siding is a worthwhile investment that pays dividends both in terms of visual appeal and financial return.
Final Review
Ultimately, selecting durable insulated siding is a balancing act between aesthetics, budget, energy efficiency, and long-term maintenance. By carefully weighing the pros and cons of different materials and considering your individual needs and climate, you can choose a siding solution that enhances your home’s value and comfort for years to come. Remember to factor in professional installation for optimal results and warranty coverage. Investing in high-quality siding is an investment in your home’s future.
