How to Install Insulated Siding
How to install insulated siding? It’s a question many homeowners grapple with, wanting both energy efficiency and curb appeal. This guide dives into the process, from choosing the right materials and planning your project to mastering the installation and maintaining your new siding. We’ll cover everything from understanding different siding types and their thermal properties to tackling potential challenges like uneven walls and ensuring watertight seals. Get ready to transform your home’s exterior!
We’ll break down each step clearly, providing detailed instructions and helpful tips to make the entire process manageable, even for DIY enthusiasts tackling their first exterior renovation. We’ll also cover important considerations like building codes and permits to ensure a smooth and legal installation. Whether you’re a seasoned DIYer or a first-timer, this guide is your comprehensive resource for a successful insulated siding installation.
Choosing the Right Insulated Siding
Choosing the right insulated siding is crucial for improving your home’s energy efficiency, curb appeal, and long-term value. The decision involves considering several factors, including material type, thermal performance, climate, and house style. Making an informed choice can significantly impact your home’s comfort and reduce energy costs.
Insulated Siding Material Options
Several materials offer insulated siding solutions, each with its own set of advantages and disadvantages. The best choice depends on your budget, aesthetic preferences, and the specific needs of your home.
| Material | Pros | Cons | Cost (Approximate Range) |
|---|---|---|---|
| Vinyl | Low maintenance, affordable, variety of colors and styles, easy installation. | Can dent or fade over time, less durable than other options, may not be suitable for all climates. | $3-$10 per square foot |
| Fiber Cement | Durable, fire-resistant, low maintenance, resists insects and rot, long lifespan. | More expensive than vinyl, heavier and more difficult to install, can be brittle. | $8-$15 per square foot |
| Foam (Polyurethane or Polyisocyanurate) | Excellent thermal insulation, lightweight, easy to install, can be used as a substrate for other siding materials. | Can be damaged by impact, susceptible to moisture damage if not properly installed and sealed, may require additional finishing materials. | $5-$12 per square foot (depending on thickness and type) |
Thermal Performance Comparison
The thermal performance of insulated siding is measured by its R-value, which indicates its resistance to heat flow. Higher R-values mean better insulation. While the exact R-value varies depending on the thickness and specific product, generally: foam siding boasts the highest R-values, followed by fiber cement (often with added insulation), and then vinyl (which typically relies on air pockets for insulation). For example, a 1-inch thick foam board siding might have an R-value of R-7 or higher, while vinyl siding might have an effective R-value closer to R-2 to R-4, depending on the installation and air gaps. The difference in R-value translates directly to energy savings. A home in a cold climate will benefit significantly from higher R-value siding, reducing heating costs.
Siding Selection for Different Climates and House Styles
Climate plays a significant role in siding selection. In extremely cold climates, high R-value materials like foam or fiber cement with added insulation are preferred to minimize heat loss. In hotter climates, lighter-colored siding can help reflect sunlight and reduce cooling costs. House styles also influence siding choices. Traditional homes might suit fiber cement or vinyl siding, while modern homes might pair well with sleek, contemporary designs offered by certain vinyl or metal options. Consider the overall aesthetic of your neighborhood and home to ensure a cohesive and appealing look.
Planning and Preparation
Installing insulated siding is a significant undertaking that requires careful planning and preparation to ensure a successful and long-lasting result. Failing to properly plan can lead to wasted materials, costly mistakes, and a less-than-ideal final product. This section outlines the crucial steps to take before you even pick up a tool.
Accurate measurements are the foundation of a successful siding installation. Inaccurate measurements will result in material shortages or excesses, leading to delays and increased costs.
Accurate Measurement of the Area
Begin by creating a detailed sketch of your house’s exterior, noting all windows, doors, and other features that will interrupt the siding installation. Divide the house into sections based on the siding panels’ dimensions. For example, if you are using 12-foot panels, it’s best to measure sections of roughly that length to minimize waste. Measure the height and width of each section separately, taking careful note of any irregularities in the wall’s surface. Remember to account for overlaps and trim pieces. It is crucial to measure twice and cut once, adding a few extra inches for potential discrepancies. Using a measuring tape and a level is essential for precision. For complex areas, consider using a laser measuring tool for increased accuracy. Record all measurements clearly on your sketch. Finally, calculate the total square footage of siding needed by multiplying the height and width of each section and summing the results. Add an additional 10-15% to account for waste and potential errors.
Necessary Tools and Materials
Having all the necessary tools and materials readily available will streamline the installation process and prevent costly delays. Preparation is key to a smooth and efficient installation.
- Measuring tape: A long, accurate measuring tape is essential for precise measurements of the walls and siding panels.
- Level: A level ensures that the siding is installed straight and plumb, creating a professional and even appearance.
- Circular saw or hand saw: Used for cutting the siding panels to the required lengths.
- Drill with various drill bits: For drilling pilot holes for fasteners and for any necessary adjustments to the house framing.
- Safety glasses and gloves: Essential for protecting your eyes and hands from debris and potential injuries.
- Insulated siding panels: Choose the right type and amount based on your measurements and building code requirements.
- Fasteners: Use appropriate fasteners designed for the type of siding you are installing.
- J-channel, corner trim, and other finishing pieces: These are essential for a clean and professional finish.
- Caulk: Used to seal gaps and ensure a watertight installation.
- Ladder or scaffolding: For safe and efficient access to higher areas of the house.
Building Codes and Permits
Compliance with local building codes and obtaining necessary permits are critical aspects of any home improvement project, including siding installation. Failure to do so can result in fines, project delays, and even the need for costly rework.
Before starting the project, thoroughly research your local building codes related to siding installation. This includes understanding requirements for insulation levels, fastener types, and the overall installation method. Contact your local building department to determine if a permit is required for your specific project and to submit the necessary paperwork. Obtain all necessary permits before commencing any work. This demonstrates your commitment to building safely and legally and protects you from potential penalties. The permit application usually requires detailed plans and specifications of the project. This ensures your project meets local standards and regulations.
Installation Process
Installing insulated siding is a multi-step process requiring precision and attention to detail. Proper installation ensures the siding’s longevity, energy efficiency, and aesthetic appeal. This section provides a detailed step-by-step guide to help you through the process.
Installing Starter Strips and Corner Pieces
Starter strips and corner pieces form the foundation for your siding installation. They provide a straight, even edge to begin with and protect the corners of your house. Incorrect installation here can lead to misaligned siding and a less-than-professional finish.
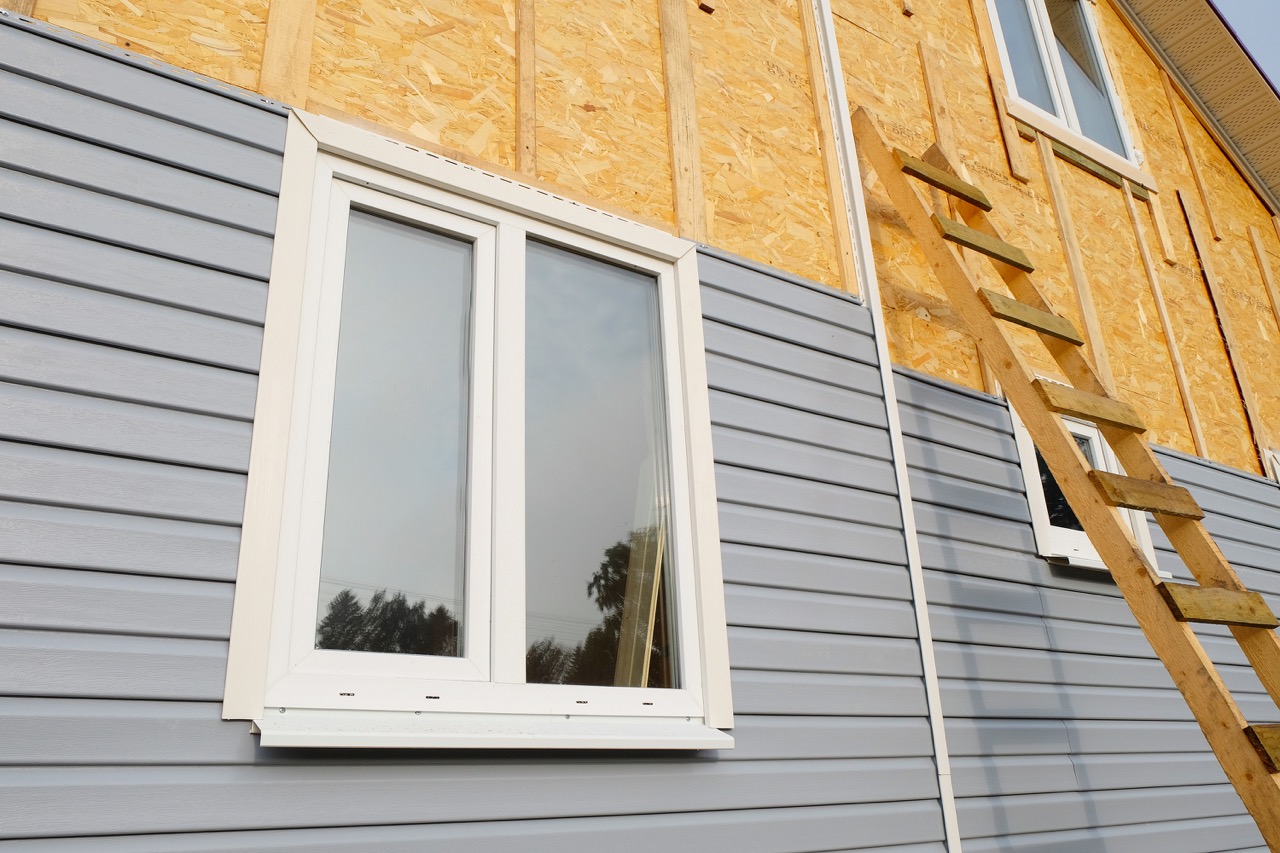
Step 1: Installing Starter Strips. Begin by installing the starter strip along the bottom edge of the wall, ensuring it’s level and aligned. Imagine a perfectly straight line – that’s your goal. Secure it using appropriate fasteners, spacing them according to the manufacturer’s instructions. This provides a solid base for the first row of siding panels. A helpful visual would be a picture showing a level being used to ensure the starter strip is perfectly horizontal, and fasteners being evenly spaced along the strip.
Step 2: Installing Corner Pieces. Corner pieces are then installed at the external corners of your house. These pieces should fit snugly and be secured with fasteners. Again, a level is crucial to ensure the corner pieces are plumb (perfectly vertical). A picture showing a corner piece being carefully fitted and fastened would illustrate this step effectively. The image should highlight the precise alignment and the use of fasteners to secure the corner piece to the underlying structure.
Cutting and Fitting Siding Panels
Accurate cutting and fitting are vital for a seamless finish. Insulated siding panels are usually pre-cut to standard lengths, but adjustments are often necessary to fit around windows, doors, and other architectural features.
Using a sharp utility knife or a circular saw with a fine-tooth blade is crucial for clean cuts. Measure twice, cut once – this old adage is especially important here. For intricate cuts, it’s often helpful to create a template from cardboard first. This allows you to test the fit before cutting the expensive siding. A photo showing someone carefully measuring a panel and using a sharp utility knife would be a useful visual aid.
Fastening Siding Panels
Proper fastening is key to ensuring the siding stays in place and performs as intended. Over-fastening can damage the panels, while under-fastening can lead to loose siding and potential damage from wind or weather.
| Step | Description |
|---|---|
| 1. Panel Alignment | Align the first panel with the starter strip, ensuring proper overlap and alignment with the corner piece. |
| 2. Initial Fastening | Use appropriate fasteners (nails or screws) to secure the top edge of the panel, leaving a small gap at the bottom for expansion and contraction. |
| 3. Securing the Panel | Continue fastening the panel, ensuring consistent spacing between fasteners. Follow the manufacturer’s recommendations for fastener placement. |
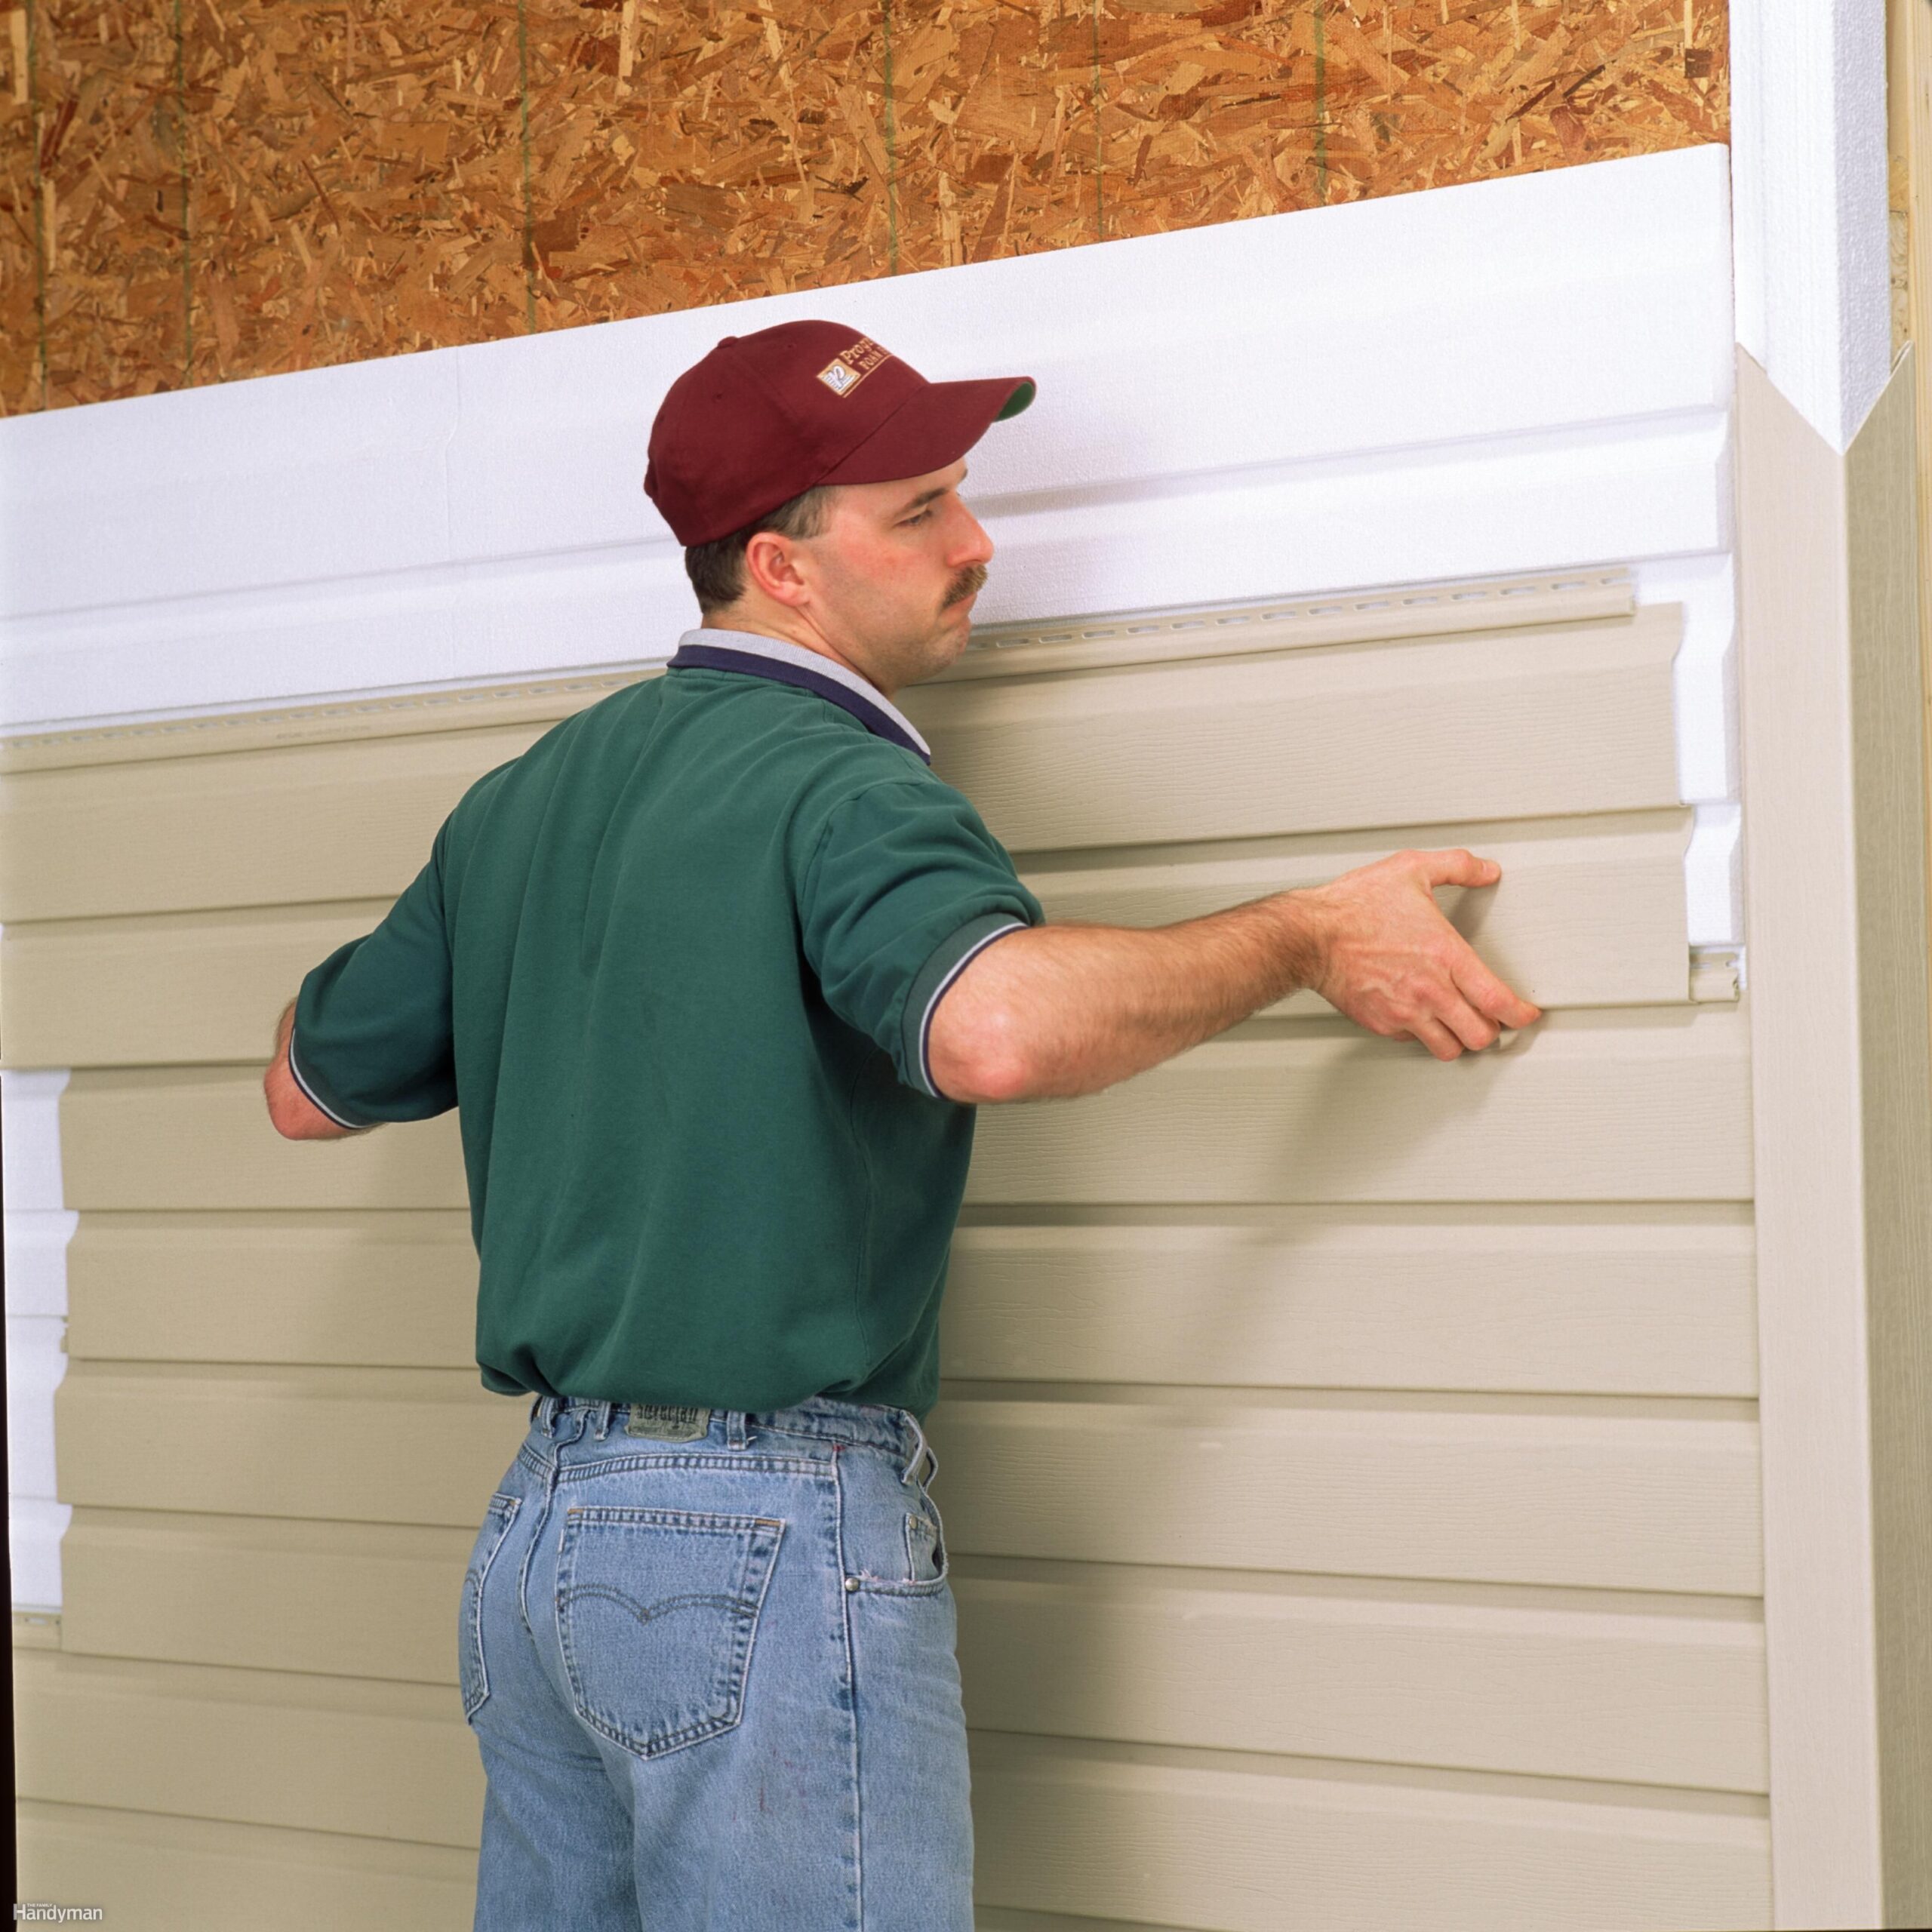
| 4. Subsequent Panels | Install subsequent panels, ensuring proper overlap with the previously installed panels. |
Finishing the Installation
Once the siding panels are installed, finishing touches are essential for a professional look and weather protection.
Installing Trim. Trim pieces are used to cover the edges and create a clean finish around windows, doors, and other architectural features. Accurate measurement and cutting are again critical for a seamless appearance. Imagine a crisp, clean line of trim neatly covering the exposed edges of the siding. This is the goal of this step.
Caulking. Caulking is essential to seal any gaps or cracks between the siding and the house structure, preventing water infiltration. Use a high-quality exterior-grade caulk, ensuring complete coverage of all joints and seams. A visual showing the application of caulk around window and door frames would illustrate this perfectly. The image should clearly show the caulk being applied smoothly and evenly.
Addressing Potential Challenges
Insulated siding installation, while achievable for DIYers, presents several potential pitfalls. Understanding these challenges beforehand and having strategies in place to overcome them is crucial for a successful and long-lasting project. Proper planning and execution are key to minimizing problems and ensuring a professional-looking finish.
Ignoring potential problems can lead to costly repairs, compromised insulation, and aesthetic flaws. Addressing these issues proactively saves time, money, and frustration in the long run. This section outlines common challenges and offers practical solutions to help you navigate the installation process smoothly.
Common Installation Problems and Solutions
Several common issues can arise during insulated siding installation. Addressing these proactively can prevent significant setbacks. The following points highlight typical problems and their effective solutions.
- Problem: Improper flashing around windows and doors leading to water leakage. Solution: Use high-quality flashing materials, ensuring complete coverage and proper overlap. Seal all seams with a durable sealant designed for exterior applications. Consider using self-adhesive flashing tape for added security.
- Problem: Damage to siding panels during handling or installation. Solution: Handle panels carefully, avoiding sharp objects and rough surfaces. Use appropriate tools and techniques to avoid bending or cracking. Always follow the manufacturer’s instructions for handling and installation.
- Problem: Uneven spacing between siding panels creating an unprofessional appearance. Solution: Use spacers to maintain consistent spacing throughout the installation. Regularly check alignment and adjust as needed to ensure a neat and uniform look.
- Problem: Difficulty cutting panels to fit around complex architectural features. Solution: Use sharp, high-quality cutting tools designed for the siding material. Take precise measurements and make multiple test cuts if necessary. Consider using a jigsaw for intricate cuts.
- Problem: Fastener failure leading to loose or damaged siding. Solution: Use fasteners specifically designed for the siding material and application. Ensure fasteners are driven straight and flush to prevent damage to the siding. Over-tightening should be avoided to prevent cracking.
Managing Uneven Walls and Complex Features
Dealing with uneven walls and intricate architectural details requires careful planning and execution. Improper handling of these areas can result in a poor-quality installation. Adapting your approach to these complexities is essential for a successful outcome.
For uneven walls, consider using shims to create a level surface for the siding panels. This ensures proper alignment and prevents gaps or unevenness. For complex features such as corners, dormers, or bay windows, pre-cut and pre-fit panels to ensure a seamless and aesthetically pleasing integration. Using specialized trim pieces designed for these features can simplify the process and enhance the finished look.
Watertight Seals Around Windows and Doors
Proper sealing around windows and doors is critical for preventing water damage and maintaining the integrity of the insulated siding system. Neglecting this step can lead to costly repairs down the line. Attention to detail in this area is essential for a successful installation.
Use a combination of high-quality caulk and flashing to create a watertight seal. Apply caulk to all joints and seams, ensuring complete coverage. Overlapping flashing should extend beyond the siding panels to prevent water from penetrating. Choose a caulk specifically designed for exterior applications and capable of withstanding extreme weather conditions. Regularly inspect the seals for any signs of damage or deterioration and repair as needed.
Maintenance and Care
Proper maintenance is key to extending the lifespan and preserving the aesthetic appeal of your insulated siding. Regular cleaning and prompt attention to minor damage will prevent larger, more costly repairs down the line. Neglecting maintenance can lead to issues like water damage, mold growth, and premature deterioration of the siding material.
Regular maintenance tasks are straightforward and don’t require specialized tools or extensive expertise. A simple schedule, followed diligently, will ensure your siding remains in top condition for years to come.
Routine Maintenance Schedule
This table outlines a recommended schedule for routine maintenance tasks. Adjust the frequency based on your climate and environmental conditions. For example, areas with heavy rainfall or significant snowfall may require more frequent cleaning.
| Task | Frequency |
|---|---|
| Inspect siding for damage (cracks, dents, loose panels) | Annually, or after severe weather |
| Clean siding with a garden hose and soft brush | Twice yearly (spring and fall) |
| Check caulking around windows and doors | Annually |
| Inspect flashing and trim for damage or deterioration | Annually |
| Power wash siding (if necessary and using low pressure) | Every 2-3 years |
Cleaning and Preserving Appearance
Cleaning your insulated siding is relatively simple. Start by rinsing the siding with a garden hose to remove loose dirt and debris. For stubborn stains or mildew, use a solution of mild detergent and water. Apply the solution with a soft-bristled brush, scrubbing gently to avoid scratching the surface. Rinse thoroughly with clean water afterward. Avoid using harsh chemicals or abrasive cleaners, as these can damage the siding’s finish. For more persistent stains, consider using a pressure washer, but maintain a safe distance and use a low-pressure setting to prevent damage. Always test any cleaning solution on a small, inconspicuous area first to ensure it doesn’t harm the siding material.
Addressing Minor Damage and Repairs
Promptly addressing minor damage can prevent larger, more costly repairs. Small cracks or dents can often be repaired with caulk or patching compounds specifically designed for your siding material. Loose panels should be re-secured using appropriate fasteners. If you’re uncomfortable performing repairs yourself, consult a professional siding contractor. They possess the expertise and tools to ensure the repairs are done correctly and effectively. For example, a small crack in a vinyl panel can often be easily filled with a high-quality vinyl caulk, matching the color of the siding. This prevents water penetration and maintains the siding’s aesthetic integrity. More significant damage, such as severely damaged panels, will likely require panel replacement.
Closing Notes
Installing insulated siding is a significant home improvement project, but with careful planning and execution, it’s entirely achievable. This guide has equipped you with the knowledge and step-by-step instructions to confidently navigate the process. Remember, proper preparation and attention to detail are key to a successful and long-lasting installation. Enjoy your newly insulated and aesthetically pleasing home exterior!
